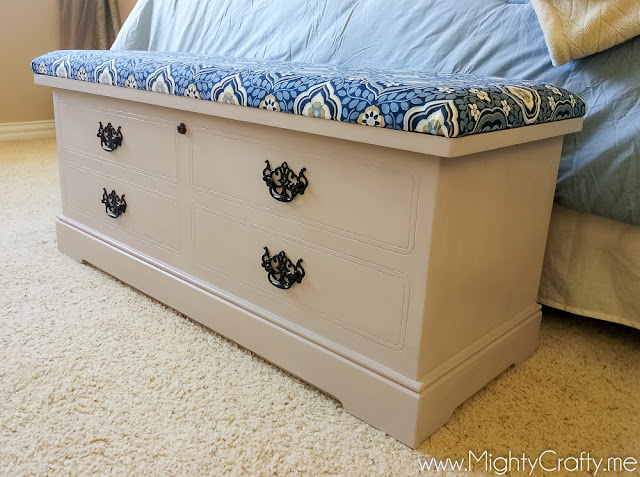
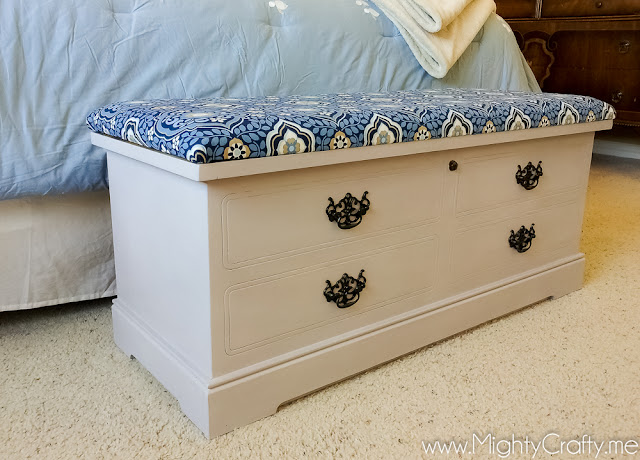
When I graduated from college, my parents gave me a beautiful hope chest. I loved it. It has been in our bedroom since then, for more than 15 years, and has worked wonderfully.
In our new house, however, hubby and I have decided to finally decorate our bedroom. With that, we want to get an actual headboard (we've never had one) and update everything to look like a cohesive space - something about being grown-ups now and we should maybe have a master bedroom that looks nice.
The first project - updating the hope chest.
This was a one-day project, very easy and quick. I used two coats of chalk paint (Paloma by Annie Sloan) to paint the chest - no sanding required. Love the color. After the paint dried, I waxed the entire thing with a finishing wax from Minwax. I spray-painted the hardware with oil-rubbed bronze (my favorite). And I stapled on the new fabric to the top with hubby's heavy-duty staple gun.
Such a beautiful transformation - it makes me happy every time I walk in my bedroom.
More projects to come...Sharing at The Power of Paint Party at Domestically Speaking. :)


Oh, I love how the chest looks now! You made it a real beautiful piece of furniture!
ReplyDeleteLove, Midsommarflicka
Thank you so much!
ReplyDelete