Saturday, July 13, 2013

Paper Scrap Layouts

Scrapbookers love paper. And with paper comes paper scraps - those bits and pieces of paper that are good to to throw away. I keep a large bin under my scrap table with all my scraps collected together. It's the first place I reach when I'm punching out shapes or cutting with my Silhouette.

But what happens when your scrap stash gets too big? Or when you have a bunch of pieces left after using a kit or collection? For a quick solution, I have returned many times to the same basic layout sketch.


It's a simple and quick layout - just a large photo or several 4x6s stacked on top of each other. Then just cut your scraps into strips of varying widths and stack them up on the side of the page. You can put them right to the edge or leave a border around the edge.


It looks different each time but still striking...


Then, you're free to embellish - either with lots of fun elements in a cluster...


Or in a more moderate way with stickers and your title...


Or use up your ribbon stash (I know you have one!) and just staple a few to the edge for a very simple embellishment...


I challenge you to make a paper scrap layout with the last remnants of your favorite paper collection. Or, just search through your paper scraps for scraps in the same color family to put together on a page. I would love to see what you create.

Wednesday, July 10, 2013

Scrapbooking Catch-Up

Summer has been flying by - and we have been enjoying every minute of it. In between our weekend trips and weekly activities, I've managed to get in some crafty time too. So just to share a few layouts...

This first one is the Little Boy collection from Echo Park - I'm not sure which one. Also used my favorite Kiwi Lane templates and some felt embellishments. Love the bright colors...


Next up, a layout using a monsters kit I've had forever (from Fancy Pants, I think) and Kiwi Lane templates again. I use those templates on every layout, it seems. I love how they help me to showcase these paper collections.


Another fun layout....I  miss these days!


I love the photo in this next layout - the first time my husband's grandmother met our at-the-time newborn twin boys (now 9-years old!). I used a fabric frame behind the photo, Kiwi Lane templates, and a ton of buttons.


That's it for now - thanks for looking!

Tuesday, June 04, 2013

Entry Makeover

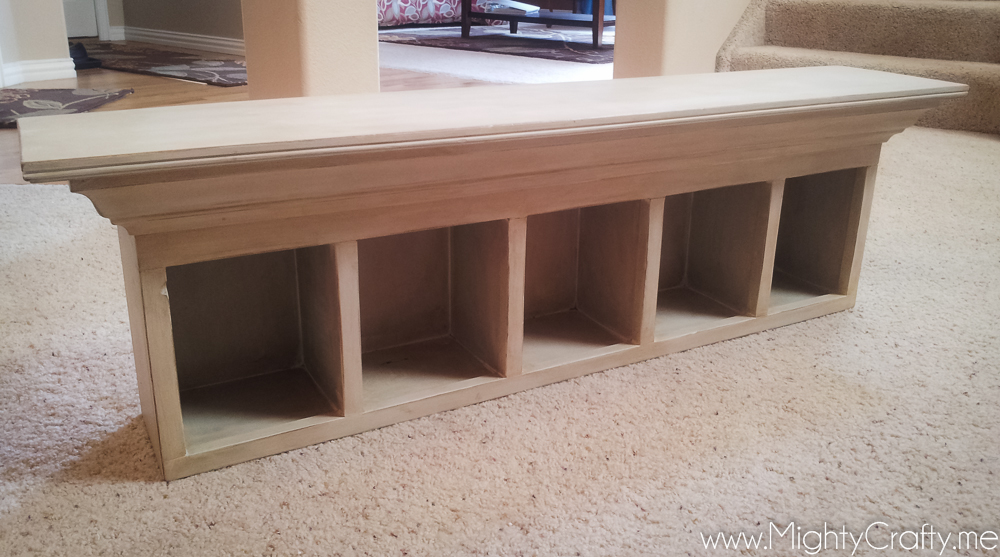
In our new house, we've had to adjust a bit to where we store coats and shoes. We mostly come in through the garage, but since that door is right in the kitchen, there's no space to hang our stuff. So instead, we go through the dining room to the front door, where there's a little alcove and room for shoes and coats. And it's normally a mess...


Enter this humble shelf I picked up a garage sale...


I painted it in Duck Egg blue chalk paint and hung it with two sets of hooks from IKEA. Perfect.


I love how it turned out. The entry still gets messy but it's much prettier to look at.

Tuesday, April 16, 2013

Layouts to Share

I've been scrapbooking like crazy in 2013. That creative urge comes and goes, and I've learned to take advantage of it when it's here and not stress about "falling behind" (which I don't believe in anyway) when the creative urge is gone.

First up, just a fun layout about my boys and their Uncle Ryan. Love these photos. The papers and embellishments are possibly from a kit but I can't find where I might have written that down. Any ideas? I also used my Kiwi Lane designer templates (of course).

Uncle Ryan layout - www.MightyCrafty.me

Uncle Ryan layout - www.MightyCrafty.me

Uncle Ryan layout - www.MightyCrafty.me

Uncle Ryan layout - www.MightyCrafty.me

Uncle Ryan layout - www.MightyCrafty.me
Next, preschool graduation. Ugh. So long ago! I wish I could have one day back of this time. The papers and embellishments are from the Simple Stories line.

Preschool Graduation - www.MightyCrafty.me

Preschool Graduation - www.MightyCrafty.me

Preschool Graduation - www.MightyCrafty.me


This next layout is from the Summer of '69 kit from Studio Calico. I also used my Kiwi Lane templates. I just love how they let me showcase all those paper layers so easily. I highly recommend them...


I Love Being Creative - www.MightyCrafty.me

I Love Being Creative - www.MightyCrafty.me
Another Studio Calico layout - this one is from the Roller Rink kit and more Kiwi Lane templates.

A Very Special Day - www.MightyCrafty.me

A Very Special Day - www.MightyCrafty.me

A Very Special Day - www.MightyCrafty.me
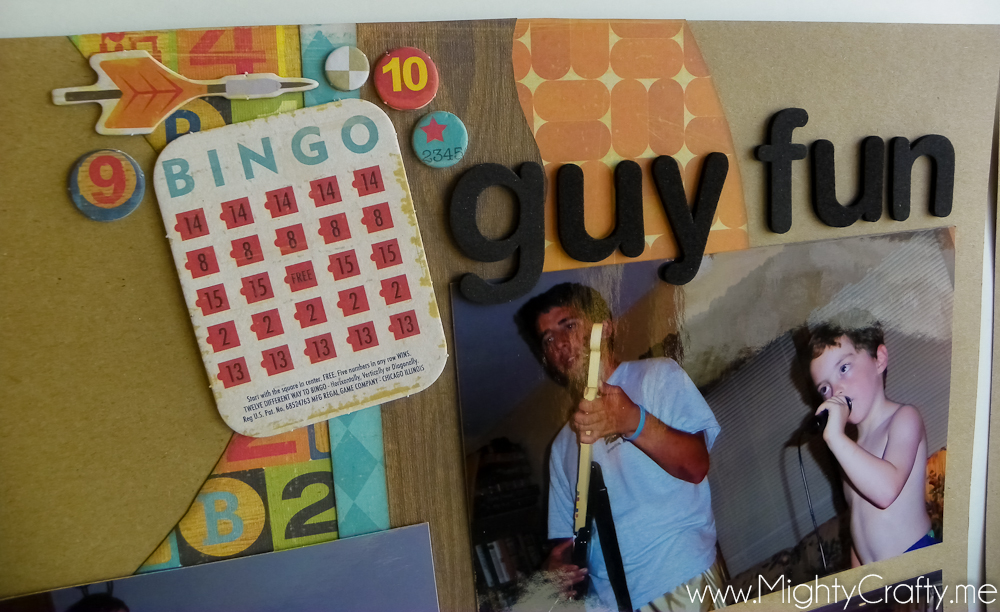
This next layout uses supplies from Crate Paper (I think) and Kiwi Lane templates.

Guy Fun - www.MightyCrafty.me

Guy Fun - www.MightyCrafty.me

Guy Fun - www.MightyCrafty.me

Guy Fun - www.MightyCrafty.me
And finally, this last layout is just a fun layout using supplies from my stash and (once again) those awesome Kiwi Lane templates.

Serious Snow - www.MightyCrafty.me

Serious Snow - www.MightyCrafty.me

Serious Snow - www.MightyCrafty.me
And that's it for layouts for now. LOL. More to come soon...

Sunday, April 07, 2013

Hope Chest Makeover

When I graduated from college, my parents gave me a beautiful hope chest. I loved it. It has been in our bedroom since then, for more than 15 years, and has worked wonderfully.

Original hope chest - www.MightyCrafty.me
In our new house, however, hubby and I have decided to finally decorate our bedroom. With that, we want to get an actual headboard (we've never had one) and update everything to look like a cohesive space - something about being grown-ups now and we should maybe have a master bedroom that looks nice.

The first project - updating the hope chest.

Updated hope chest - www.MightyCrafty.me

This was a one-day project, very easy and quick. I used two coats of chalk paint (Paloma by Annie Sloan) to paint the chest - no sanding required. Love the color. After the paint dried, I waxed the entire thing with a finishing wax from Minwax. I spray-painted the hardware with oil-rubbed bronze (my favorite). And I stapled on the new fabric to the top with hubby's heavy-duty staple gun.

Updated hope chest - www.MightyCrafty.me

Updated hope chest - www.MightyCrafty.me

Updated hope chest - www.MightyCrafty.me

Such a beautiful transformation - it makes me happy every time I walk in my bedroom.

Updated hope chest - www.MightyCrafty.me

More projects to come...Sharing at The Power of Paint Party at Domestically Speaking. :)
Related Posts Plugin for WordPress, Blogger...